
4 Starting Steps to Success!
When starting your JAMS journey, there a few steps to follow in order to get started.
These are the 4 things we recommend to new customers in order to get set up on JAMS and begin your publishing journey!
1. 💻 Check your Website Settings
Whether the JAMS team have filled in your website settings for you or not, it is important that you check all the fields are filled in correctly.
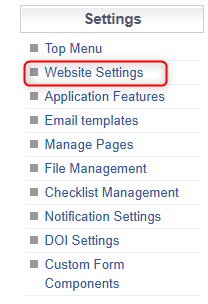
Firstly, after logging in, scroll down and locate 'Website Settings in the left-hand menu column.
Check all of the mandatory information is filled in correctly. For more information regarding the email mailboxes at the bottom of the page, read our article here.
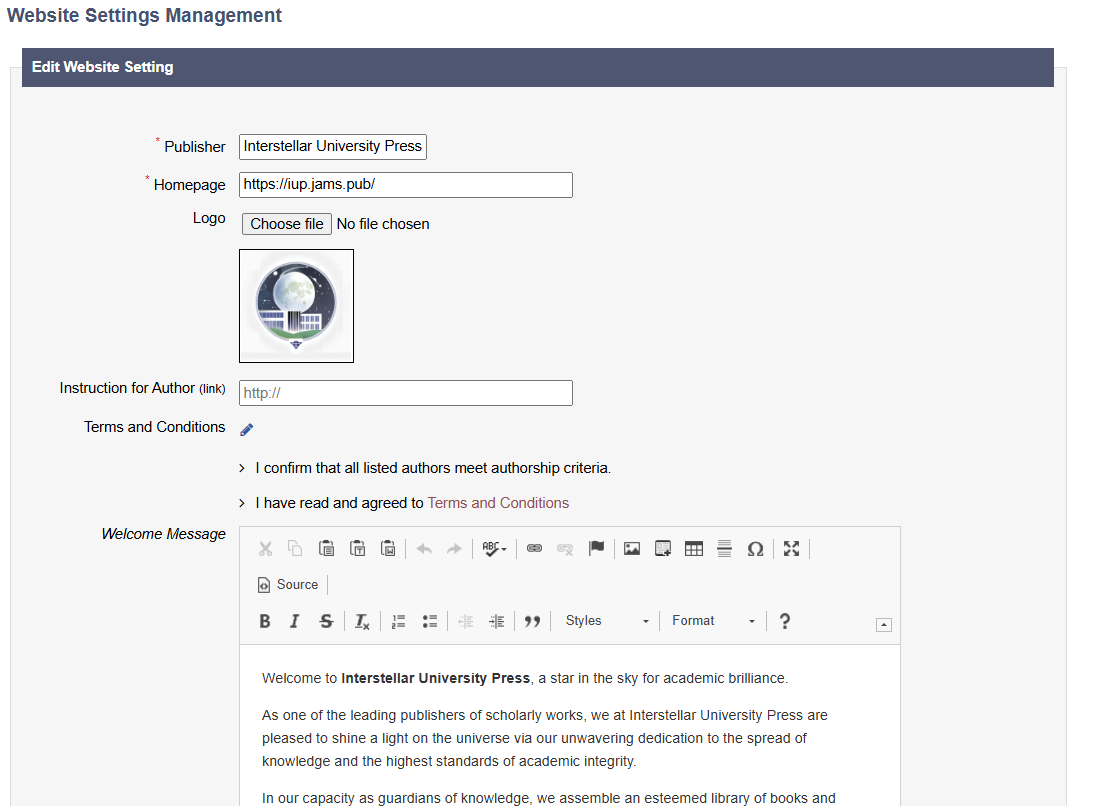
Example Website Settings Form
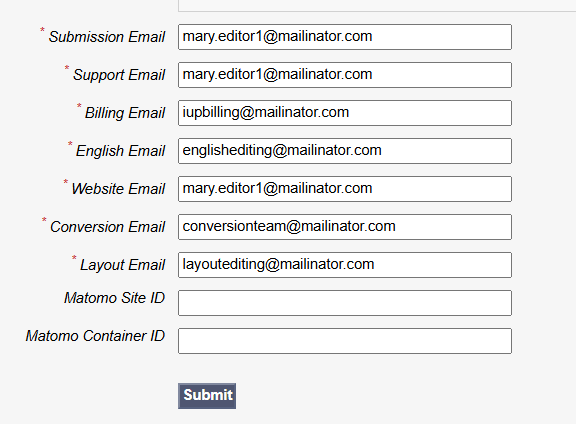
Email Mailbox Fields
When you are happy that all the Website Settings are correct, click ‘Submit’ at the bottom of the page.
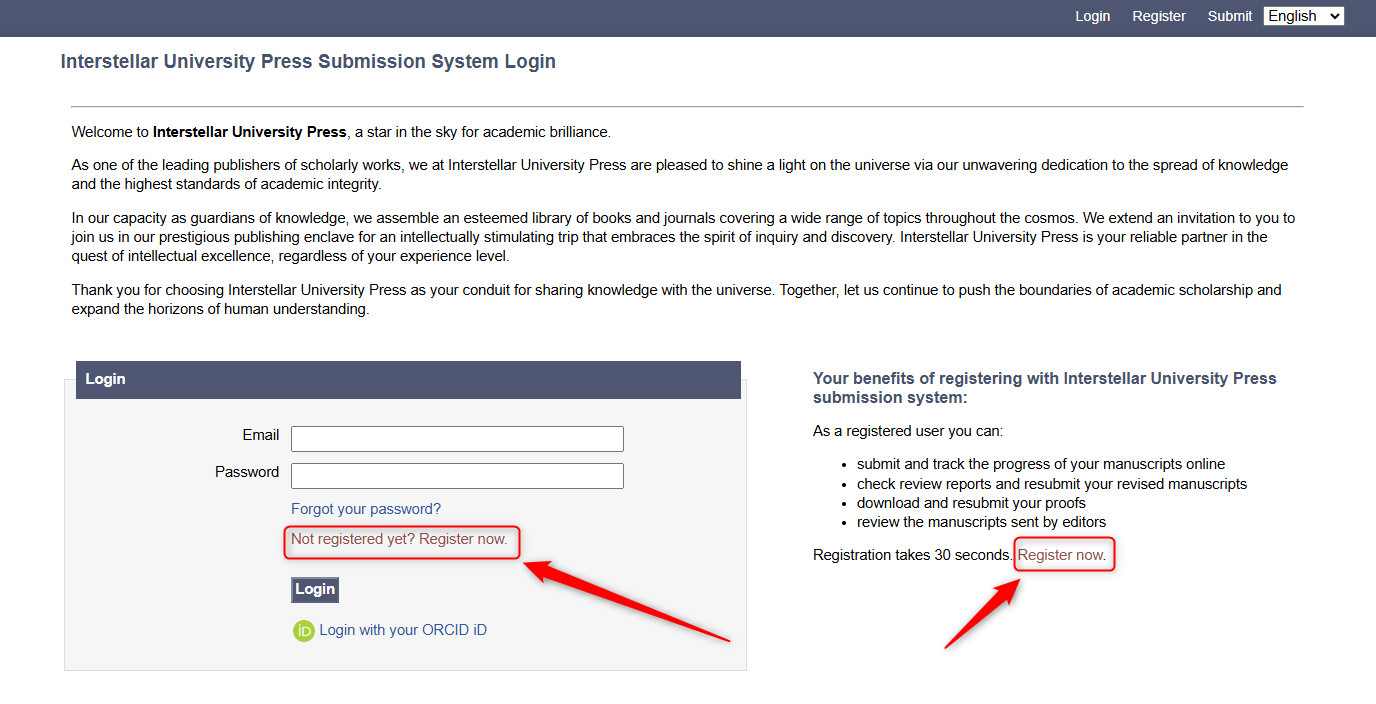
2. 📧 Invite Editors/Employees
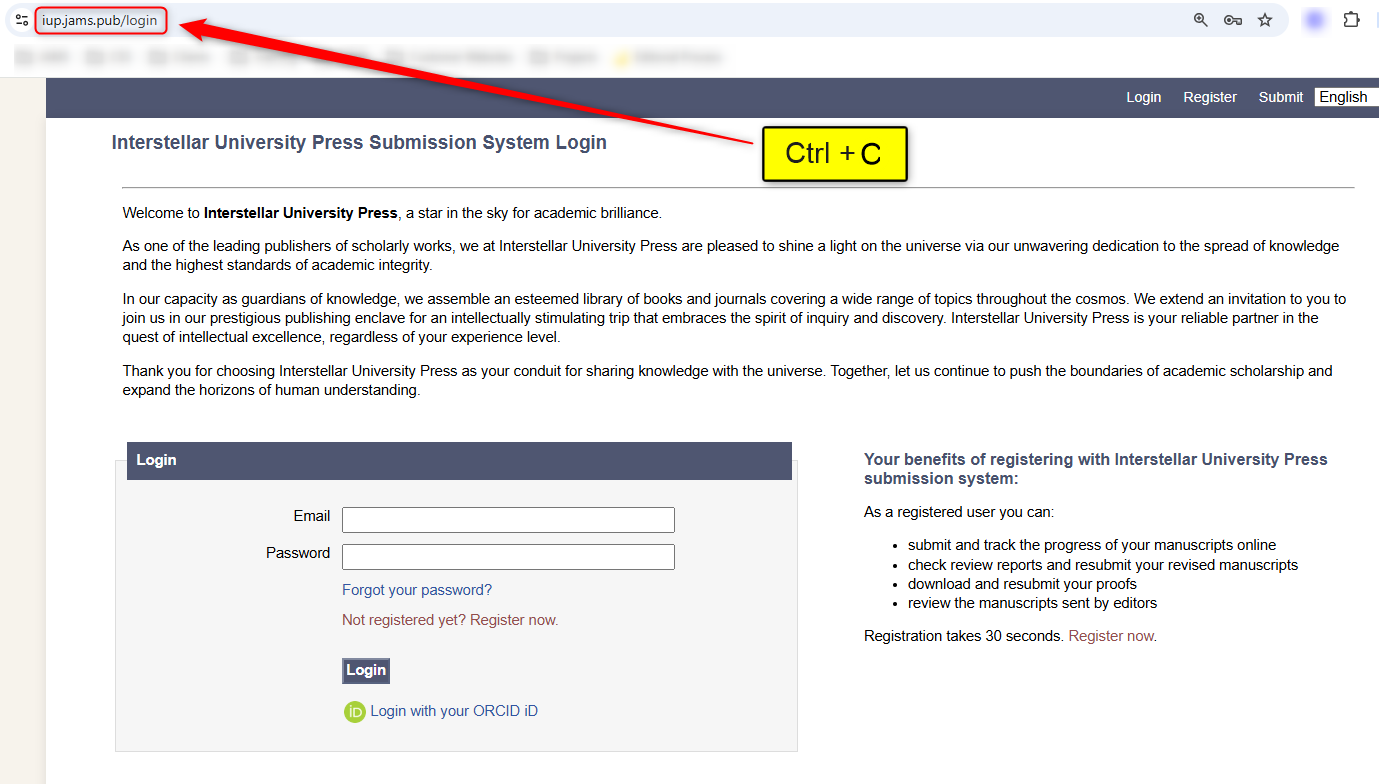
The next step is to invite other users to JAMS! At the moment, you can do this by clicking logout at the top right of the page. ➡️

This will take you to your login landing page like the example below. Locate the URL at the top of the page and copy it (Ctrl + C). Then, send it to your editorial team/employees .
Your team must then register a new account on your JAMS site. They can register by clicking either of the buttons below and filling out their email address and creating a password. They will then need to verify their email address.
Top Tip: Ask you editors/employees to notify you when they have registered. This means you can go in and complete step 3 as soon as possible!
3. ⚙️ Adjust Employee Permissions and Roles
Once your editorial team have registered, they need to be granted editorial permissions on JAMS. All users that sign up are automatically given an author account. As a Super User, you can change this so your editors have access to editorial controls.
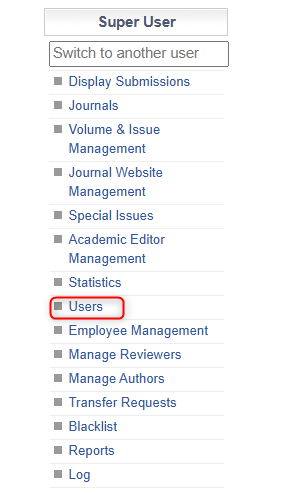
Firstly, you need to locate the Users menu option under the Super User section. ➡️
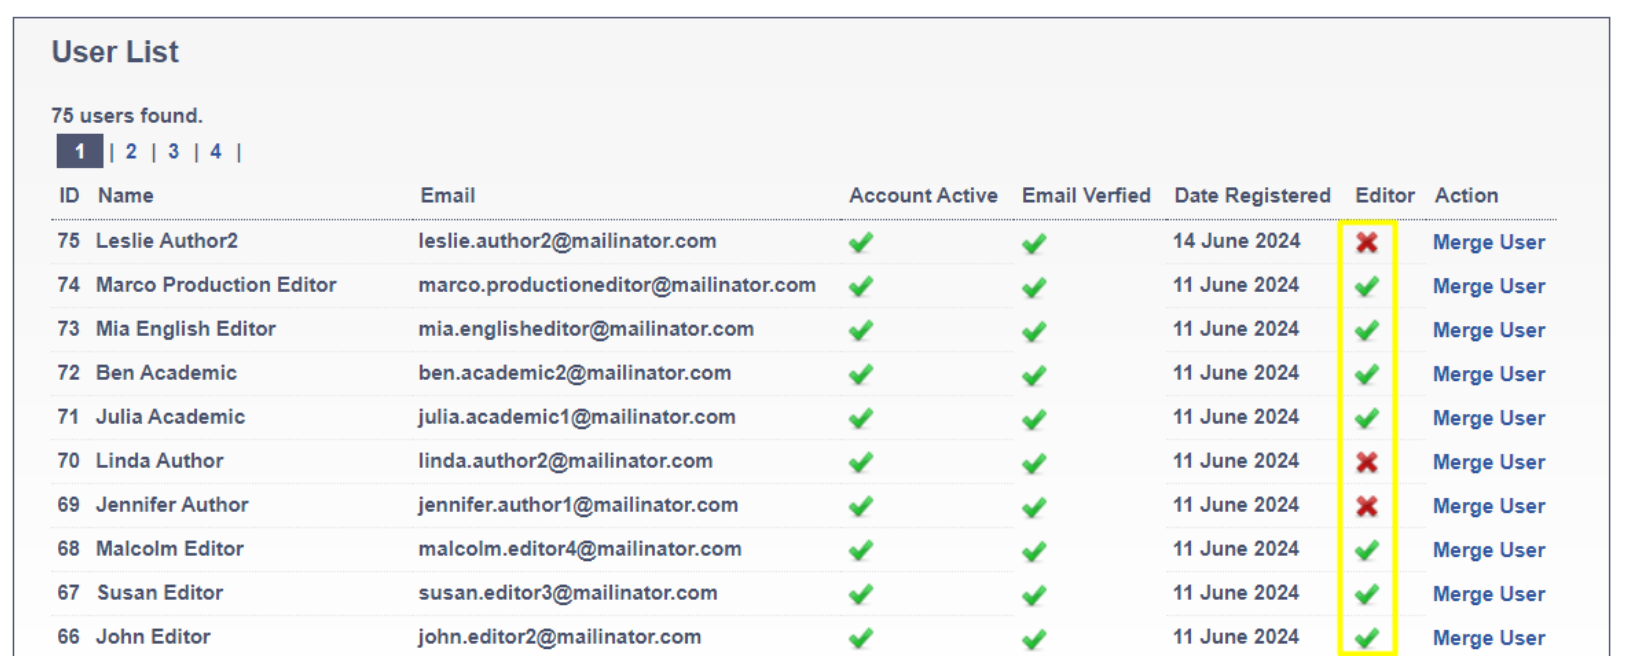
In the User Management menu, you should flag a registered user as a member of the editorial office. By clicking the ❌ icon next to their name, the icon will be changed to a green checkmark and the user will be marked as an editor. Regarding authors and reviewers, this option should remain negative (❌ icon). This view also allows a Superuser to see whether there are unverified user accounts and override the need for email verification if this is required.
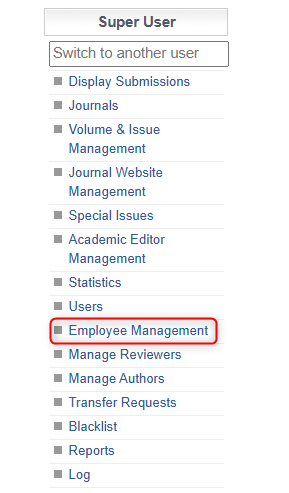
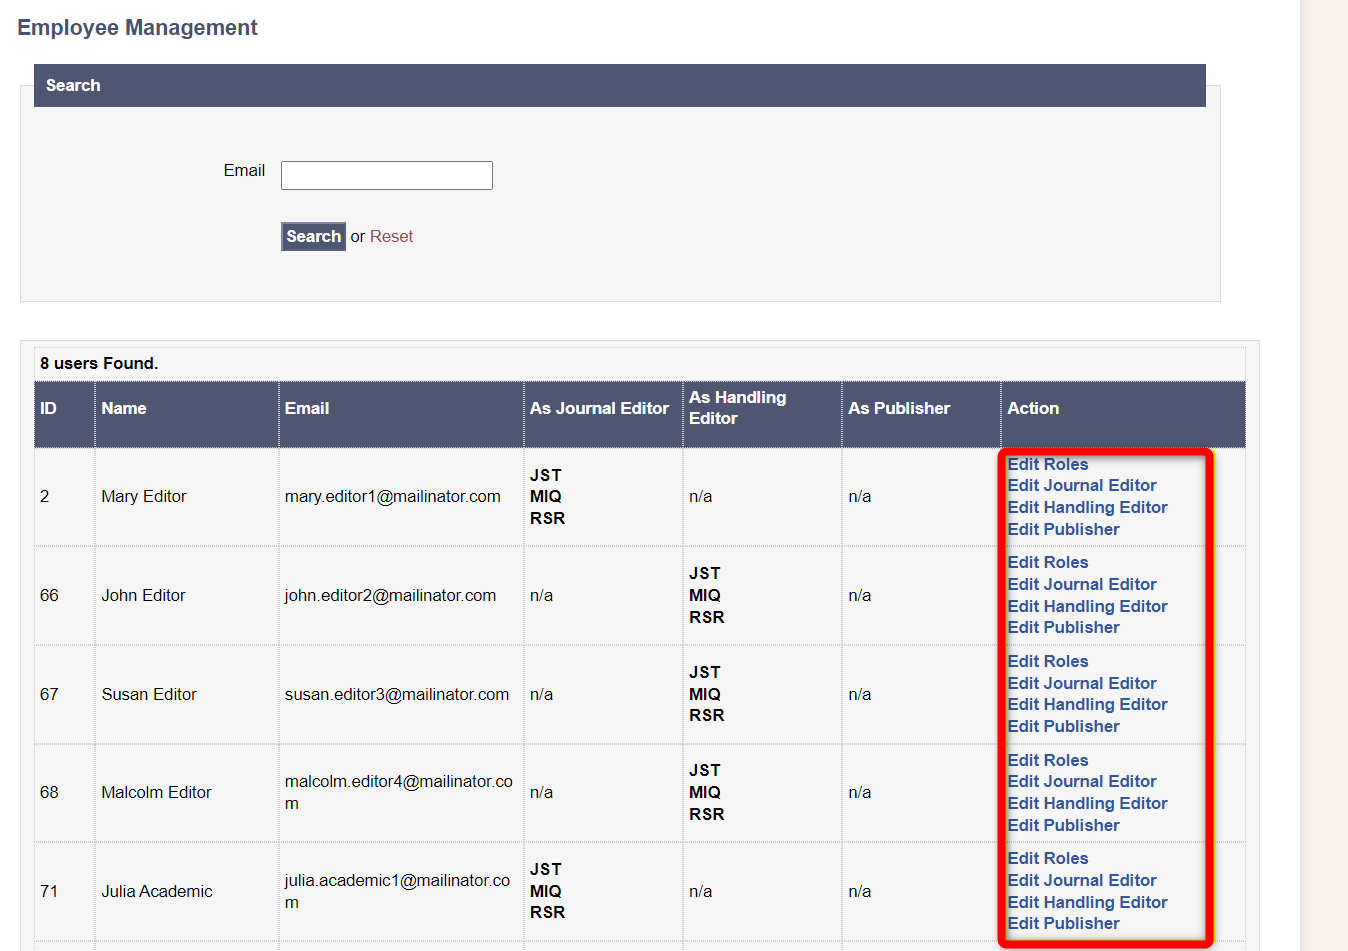
Next, locate the Employee Management section under the Super User menu ➡️
The Employee Management screen displays a view of all registered users who are marked as editors, with the ability to view and update their roles.
The option Edit Roles allows the assignment of roles such as Handling Editor, Journal Editor, Publisher etc. See here for in-depth information about the different roles.
The options Edit Journal Editor, Edit Handling Editor and Edit Publisher allows you to select the journal(s) for which the role will be applied.
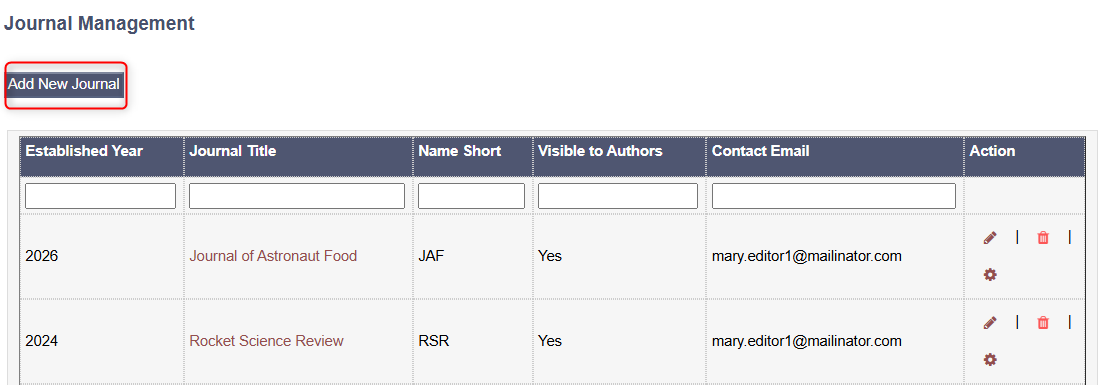
4. 🔖 Create a Test Journal
At JAMS, we recommend creating a Test Journal to explore all of our customisation options and features before committing to any with your real journal.
To do this, locate Journals under the Super User column. Then, click ‘Add New Journal’.
Fill in the mandatory fields with filler information. If you like, you can use the filler information we have used in the image below.
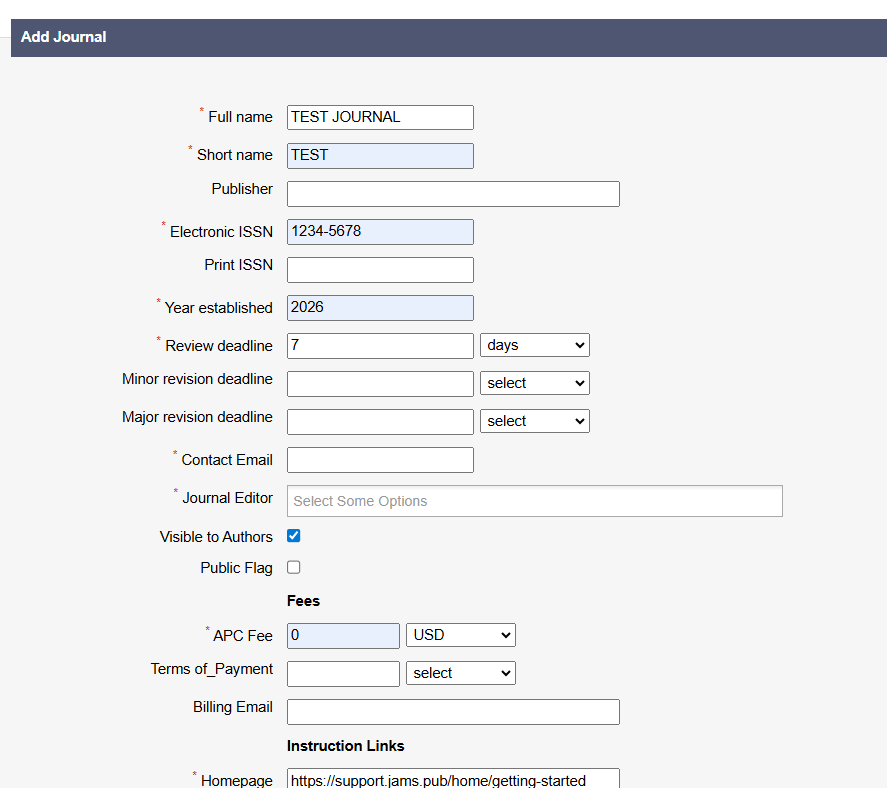
For the Contact Email, put your own account or another Super User who will be experimenting with this Test Journal. Ideally, assign the Journal Editor as the same person(s) who will be the real Journal Editor(s).
You will also need to tick the ‘Visible to Authors’ box to see all the available features. Don’t worry though, this can be changed before any real authors are using your JAMS site.
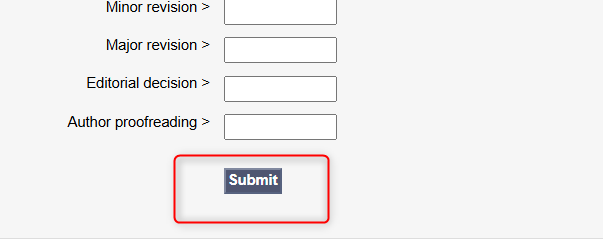
When you’re ready, click Submit at the bottom of the page! ➡️
Now you can begin to experiment with your test journal! If you like, your editors can also use this test journal to try out features.
To experiment and see the different application features, head to this article.